How to Take Scalp Photos
Good tracking lives or dies on the photo. If the angle, light, or styling shifts between two shots, you're comparing the camera, not your scalp — and the crown, the area that matters most, is the one you can't aim at yourself. A few simple habits fix that: same framing, soft even light, clean dry hair, every time. Guided capture handles the fiddly angles so each scan lines up with your first.
How it works
Same four angles, every time — so each new scan compares fairly to your very first.
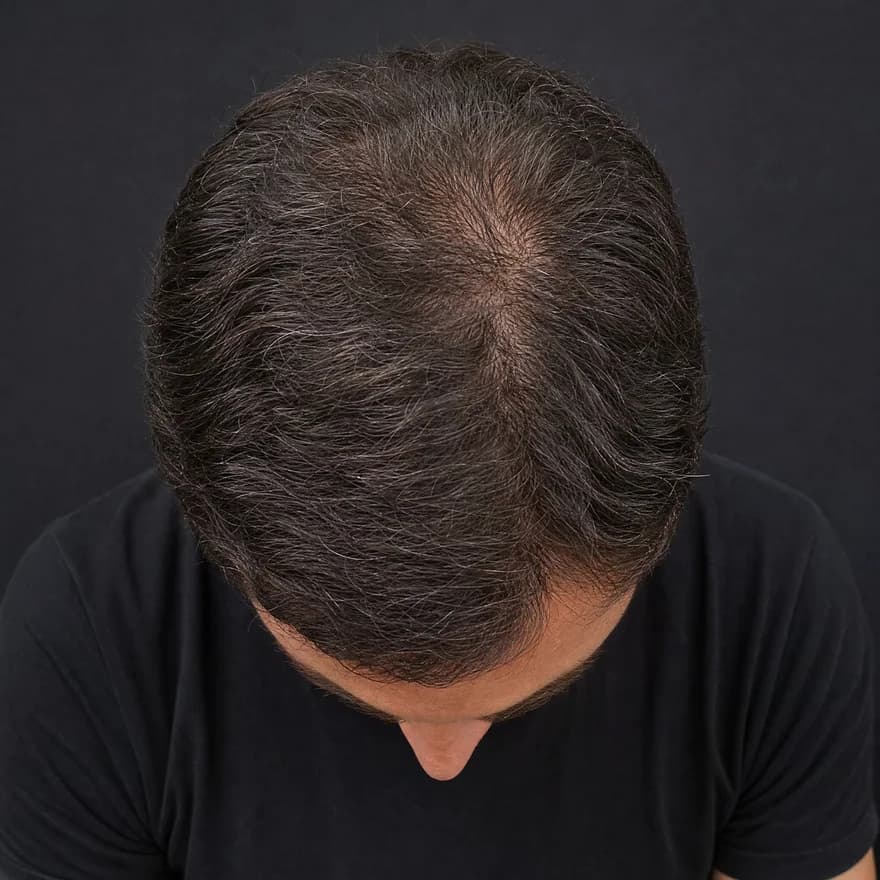
Top · Crown
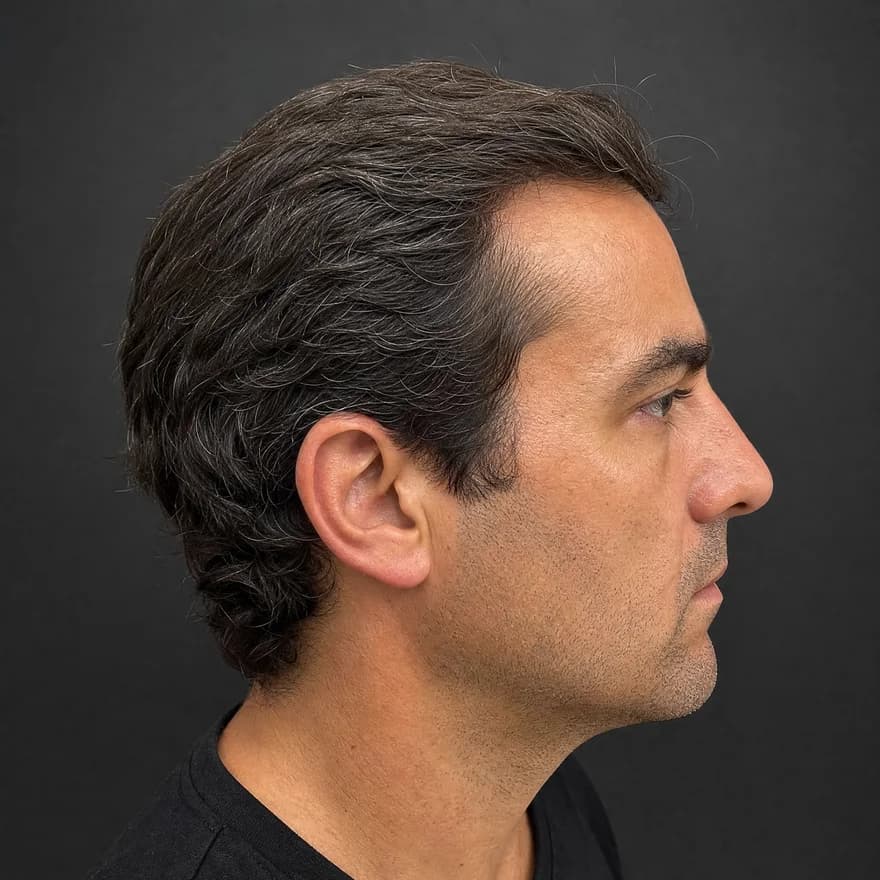
Side · Temple
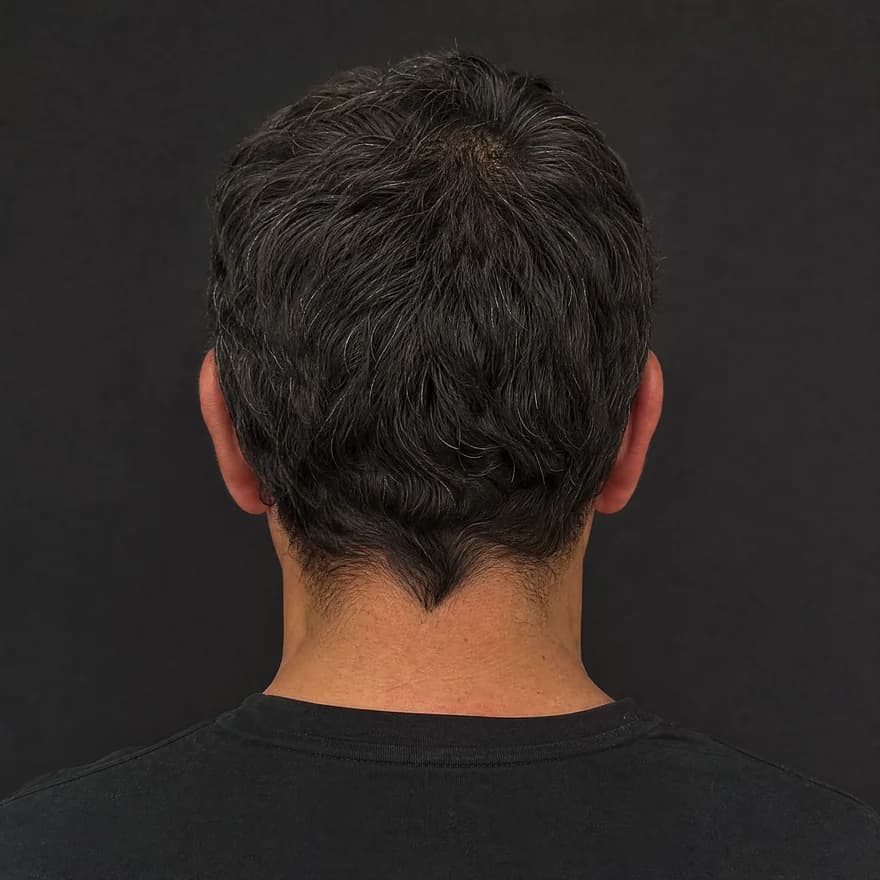
Back
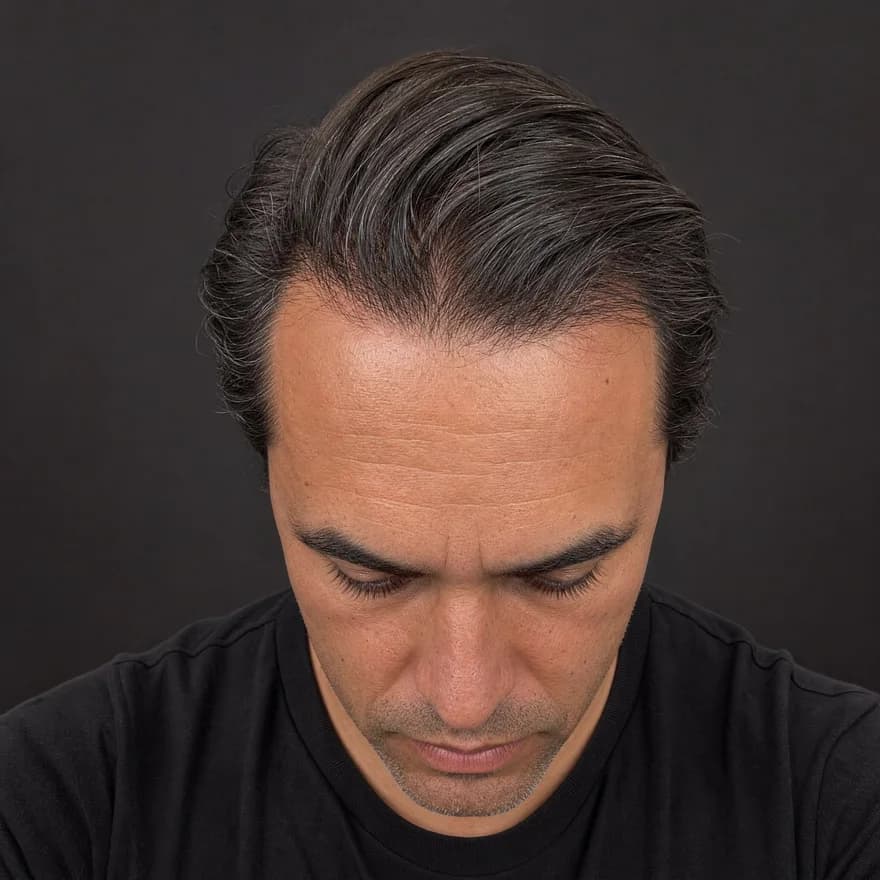
Front · Hairline
Same four angles, every time — illustrative example
Front · crown · temple · back
Four guided angles in about 30 seconds — the same views every time.
Hairline · density · scalp
AI reads each angle for hairline shape, crown density, and scalp surface.
Usable · limited · low-light
Every reading shows its confidence — limited views are flagged, not guessed.
Your baseline, revisited
Save it, rescan later, and see exactly what moved.
The four habits
None of this needs special gear — just consistency. Guided capture automates the angles so you only have to hold the rest steady.
Front, top/crown, both sides, and back — framed the same way every time. Fixed angles are what make any two scans actually comparable, and the crown needs one most since you can't aim at it.
Soft, even light — natural daylight near a window is ideal — beats harsh overhead light or flash, which exaggerate scalp show-through and make two photos disagree.
Clean, dry, product-free hair, styled the same way each time. Gels and a fresh part change how full hair reads, so consistency here keeps the comparison fair.
Save each set with a date and reuse the exact same setup next time. The boring part — same recipe, months apart — is what makes the trend trustworthy.
Why each habit matters
Each shortcut quietly fakes a change. Here's what each constant is actually protecting against.
Tilt your head a little differently and the hairline appears to move. Fixed framing keeps the silhouette in the same place so only real change shows.
Harsh overhead light and flash exaggerate show-through; soft light hides it. Same light each time keeps the surface signals honest.
Wet hair, a new part, or product changes how dense hair reads. Clean dry hair, styled the same, removes a fake source of change.
Even a careful photo can be dim or blurry. A good read lowers its confidence on a poor view rather than guessing — so you know when to reshoot.
Questions
Keep three things constant: the angles (front, top/crown, both sides, back), the light (soft and even, ideally natural daylight), and the styling (clean, dry, product-free hair). The whole point is that only your head changes between two photos — so a difference you see is a real difference, not a new lighting setup.
Front for the hairline and temples, the top/crown for show-through you can't see in a mirror, the sides for the temple corners, and the back to round out the crown. Guided capture frames the same four angles every time, which is what makes two scans actually comparable — the crown especially needs a fixed angle since you can't aim at it yourself.
It's the hardest angle because it sits in a natural blind spot — most people need a second mirror or another person. Guided top-and-back capture is built to put that whole area on record consistently, so you're not relying on one awkward overhead shot that looks different every time.
Hold the phone above and slightly behind your head with the lens pointed down at the crown, or use a second mirror so you can see the framing — burst mode helps you catch a steady frame. The catch is repeatability: a freehand overhead shot looks different every time. Guided top-and-back capture lines the crown up the same way on every scan, which is what makes two crown photos actually comparable.
Every 8–12 weeks is the sweet spot. Visible change is slow, so shooting more often mostly captures lighting and styling rather than real change. Same angles, similar light, a few months apart — that's a fair, readable comparison.
No. Photos let you track whether your visible appearance is stable or changing — they don't diagnose hair loss or any condition. If a trend looks like it's moving, or you notice sudden or patchy shedding, take your dated photos to a qualified professional.
A note on transparency
ScalpAnalysis AI reads appearance-based signals and tracks visible change over time. It does not diagnose, treat, cure, or prevent any condition.
If you have pain, sudden shedding, or signs of infection, a qualified professional is the right next step.
The report it produces
This is the exact report format a scan unlocks — qualitative tiers, your visible features, and a confidence level on every reading. Saved as a baseline you compare against on every rescan.
Your Hair Profile
Even crown coverage with a soft cowlick
Density
High
Type
Wavy
Texture
Medium
Shine
Medium
Risk of Recession
Low
Hair Loss
Minimal
Illustrative example · sample data
Related guides
From the blog
Your first 4-angle scan is free to preview — no account required to see your result.